
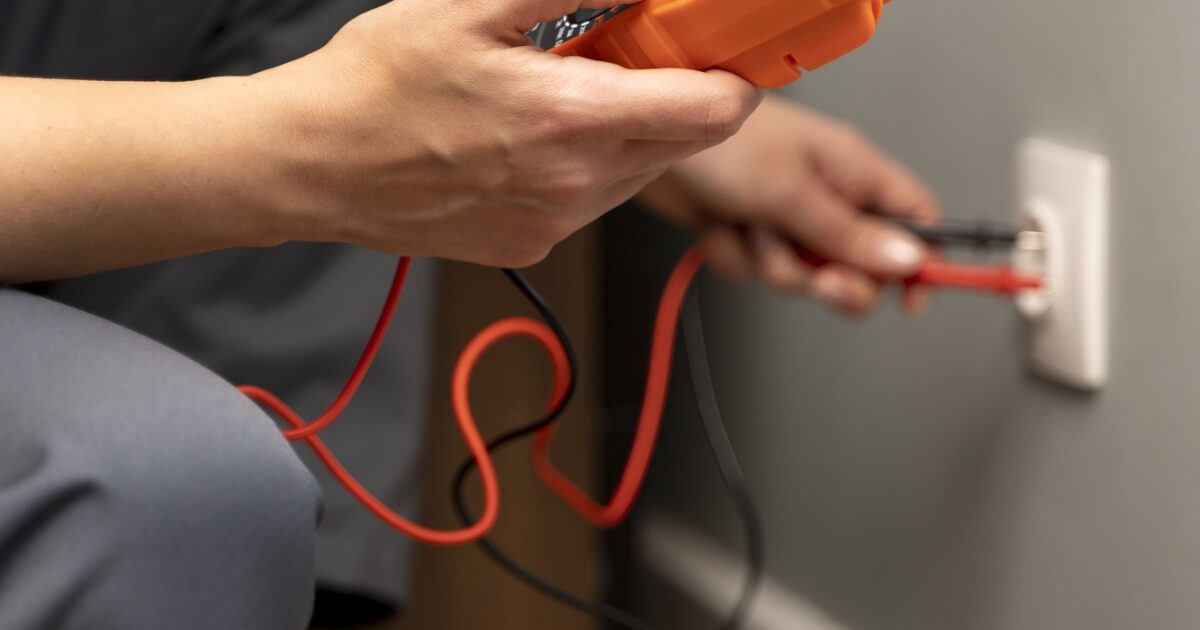
There’s a certain satisfaction that comes with tackling a home improvement project yourself. Among the most common, and arguably most rewarding, is learning how to wire a light switch. Whether you’re replacing an old, faulty switch or installing a new one for added convenience, understanding the basics of electrical wiring is key. With patience and a clear understanding of the fundamentals, this is a perfectly manageable DIY task.
Latest Update (April 2026)
As of April 2026, the market for home electrical components continues to evolve, with a growing emphasis on smart home integration and user-friendly designs. Recent reports highlight advancements in switch aesthetics and functionality. For instance, slim profile, screwless designs like those from BG Electrical are becoming increasingly popular for a modern look, as noted by ruhrkanal.news. Furthermore, the demand for energy-efficient lighting solutions has spurred innovation in dimmer switches, with a wide array of options available for both residential and commercial spaces in 2026, according to openPR.com. Smart lighting systems are also a major focus, with CNET testing and recommending the best smart lights for 2026, indicating a trend towards connected and automated home environments.
Your Essential Light Switch Wiring Checklist
Before you even think about touching a wire, preparation is paramount. This isn’t a project where you can ‘wing it.’ Gathering the right tools and understanding the components involved will save you time, frustration, and, most importantly, keep you safe. Laying out everything you need before starting ensures a smooth process.
Here’s what you’ll need:
- New Light Switch: Ensure it’s compatible with your home’s wiring (single-pole for most standard lights, three-way if you have two switches controlling one light).
- Wire Strippers/Cutters: Essential for preparing the ends of the wires.
- Screwdriver Set: Both Phillips and flathead are usually necessary.
- Voltage Tester (Non-Contact): This is your most important safety tool. Never skip this!
- Electrical Tape: For insulating connections.
- Wire Nuts: To securely connect wires.
- Pliers: For gripping and bending wires.
- Safety Glasses: Protect your eyes from stray debris.
Understanding the Basics of Light Switch Wiring
At its core, a light switch acts as a gatekeeper for electricity. It interrupts or completes a circuit, controlling whether power flows to your light fixture. Most residential wiring involves three types of wires: the hot wire, the neutral wire, and the ground wire. Knowing which is which is fundamental to how to wire a light switch correctly.
The hot wire (typically black) carries the electrical current from the power source. The neutral wire (typically white) completes the circuit, allowing the current to return to the source. The ground wire (typically bare copper or green) is a crucial safety feature providing a path for electricity to flow safely to the ground in case of a fault, preventing shocks. According to OSHA guidelines updated in 2026, proper identification and handling of these wires are critical for preventing electrical accidents.
A standard single-pole switch has two screw terminals for the hot wires and often a green screw for the ground wire. Power enters on one hot wire, passes through the switch mechanism, and exits on another hot wire to the light fixture. The neutral wires are typically connected together, bypassing the switch itself.
Important: Always assume wires are live until you have personally verified they are not. The circuit breaker for the area you’re working on must be turned OFF. A voltage tester is non-negotiable for confirming power is off.
Step-by-Step: How to Wire a Single-Pole Light Switch
Let’s walk through the most common scenario: replacing or installing a single-pole light switch. This is the type you’ll find controlling most lights in a room from one location.
Step 1: Turn Off the Power!
Go to your electrical panel and locate the breaker that controls the circuit you’ll be working on. Flip it to the OFF position. It’s good practice to label your breakers, but if you’re unsure, it’s safer to turn off the main breaker or consult a qualified electrician. This step is the most critical for your safety.
Step 2: Verify Power is Off
Take your non-contact voltage tester and hold it near the existing switch or the wires in the electrical box. If it lights up or beeps, the power is still on. Return to the breaker! Once you’re certain the power is off, you can proceed. Do not rely on the breaker position alone; always test.
Step 3: Remove the Old Switch (if applicable)
Unscrew the switch plate. Then, unscrew the switch itself from the electrical box. Gently pull the switch out of the box. Observe which wires are connected to which terminals. Typically, a black wire (hot) connects to one terminal, and another black wire (switched hot to the light) connects to the other. The white neutral wires are usually bundled together with a wire nut, and the ground wire (bare copper or green) connects to the switch and/or the box.
Step 4: Disconnect Wires
Loosen the terminal screws and carefully detach the wires from the old switch. If the wires are short, you might need to strip a little more insulation off the ends using your wire strippers to expose fresh copper.
Step 5: Prepare New Wires (if needed)
If you’re installing a new switch or the existing wire ends are damaged, use your wire strippers to remove about 1/2 to 3/4 inch of insulation from the end of each wire. Bend the exposed copper into a J-hook shape using pliers. This hook will wrap around the screw terminal.
Step 6: Connect the New Switch
- Ground Wire: Connect the bare copper or green wire to the green screw terminal on the new switch. Wrap the hook clockwise around the screw and tighten it firmly.
- Hot Wires: Connect the two black wires. One is the incoming hot wire, and the other is the switched hot wire going to your light. Wrap each wire hook clockwise around one of the brass-colored screw terminals and tighten securely. For a single-pole switch, the order of these two wires typically doesn’t matter.
- Neutral Wires: The white neutral wires are usually already connected together with a wire nut. They do not connect to a standard single-pole switch. Ensure this connection is secure. If you had to disconnect them, reconnect them with a new wire nut, twisting all wires together securely before screwing the nut on.
Step 7: Mount the New Switch
Carefully fold the wires back into the electrical box. This can be challenging, especially if the box is crowded. Push the switch into the box, aligning the mounting screw holes with those on the box. Screw the switch into place. Ensure it’s snug but don’t overtighten, which could crack the switch or box.
Step 8: Install the Switch Plate
Attach the new switch plate over the switch, securing it with the provided screws. Ensure it sits flush against the wall.
Step 9: Restore Power and Test
Go back to your electrical panel and flip the circuit breaker back to the ON position. Test the switch by turning your light on and off. If it works correctly, congratulations! If not, immediately turn the power off at the breaker and re-check your wiring connections.
Understanding Three-Way Light Switches
Three-way switches allow you to control a single light fixture from two different locations, such as at the top and bottom of a staircase or at opposite ends of a hallway. Wiring a three-way switch is more complex than a single-pole switch because it involves an additional wire called a ‘traveler’ wire.
A three-way switch has three terminals for wires (plus a ground screw). One terminal is the ‘common’ terminal, and the other two are ‘traveler’ terminals. Power enters the first switch and connects to the common terminal. The two traveler terminals on the first switch connect to the two traveler terminals on the second switch via traveler wires. The common terminal on the second switch then connects to the light fixture.
How it works: The switch toggles the power between the two traveler wires. When both switches are set to connect to the same traveler wire, the circuit is complete, and the light turns on. If they are set to different traveler wires, the circuit is broken, and the light turns off. This system requires careful identification of the common and traveler wires.
Wiring a Three-Way Switch (Simplified Overview)
Step 1: Safety First! Turn off power at the breaker and verify with a voltage tester.
Step 2: Identify Wires.
- Incoming Power (Hot): Usually black, connects to the ‘common’ terminal (often a darker screw) of the first switch.
- Traveler Wires: Typically black or red, connect between the traveler terminals of both switches.
- Switched Hot (to light): Usually black, connects to the ‘common’ terminal of the second switch.
- Neutral Wires: White wires, bundled together, bypassing the switches.
- Ground Wires: Bare copper or green, connected to ground screws on both switches and the electrical box.
Step 3: Connect Switches. Connect the identified wires to the appropriate terminals on each three-way switch.
Step 4: Secure Connections. Ensure all wire nuts are tight and terminal screws are secure.
Step 5: Test. Restore power and test the light from both switch locations.
Due to the complexity, many users opt for professional installation for three-way switches, especially if unfamiliar with advanced wiring concepts. However, with careful planning and adherence to safety protocols, it is a feasible DIY project.
Advanced Lighting Controls in 2026
The landscape of home lighting control has expanded significantly beyond basic switches. As of April 2026, smart switches and dimmer switches offer enhanced convenience, energy savings, and ambiance control. Smart switches, often controllable via smartphone apps or voice commands, allow users to schedule lighting, control lights remotely, and integrate them into broader home automation systems. Reports from CNET on the best smart lights for 2026 indicate that compatibility and ease of setup are key features consumers seek.
Dimmer switches provide adjustable light levels, which can reduce energy consumption and create different moods within a room. The variety of dimmer options available in 2026 ranges from simple rotary or slider controls to sophisticated smart dimmers that offer app-based control and scene setting. OpenPR.com’s 2026 guide to dimmer switches highlights options that are compatible with various bulb types, including LEDs, which have become the standard for energy efficiency.
When installing smart switches or dimmers, it’s important to note that they may have different wiring requirements than standard switches, sometimes requiring a neutral wire connection or specific wiring configurations. Always consult the manufacturer’s instructions and ensure your home’s wiring can support the chosen device. As the electrical industry continues to innovate, understanding these advancements is key for homeowners looking to upgrade their lighting systems.
Frequently Asked Questions
What is the difference between a single-pole and a three-way switch?
A single-pole switch controls a light from one location. A three-way switch controls a light from two different locations, using traveler wires to communicate between the two switches.
Can I replace an old switch with a smart switch?
Often, yes. However, smart switches may have specific wiring requirements, such as needing a neutral wire, which older homes might not always provide at the switch box. Always check the smart switch’s specifications and your home’s wiring before purchasing.
How do I know which wire is hot, neutral, and ground?
Typically, hot wires are black, neutral wires are white, and ground wires are bare copper or green. However, wire colors can vary, especially in older homes. Always use a voltage tester to confirm power is off and identify wires accurately before working.
What happens if I wire a switch incorrectly?
Incorrect wiring can lead to several problems, including the light not working, flickering lights, tripped breakers, or even electrical fires. In severe cases, it can cause damage to your electrical system or appliances. Always double-check your connections and ensure power is off.
Are smart switches safe to install myself?
Smart switches are generally safe to install if you follow all safety precautions, such as turning off the power and using a voltage tester. However, if you are uncomfortable or unsure at any point, it is best to hire a qualified electrician. Companies like Monte’s Electric, as highlighted by the Marshall Independent, showcase professionals who handle these installations.
Conclusion
Learning how to wire a light switch is an empowering DIY skill that enhances your home’s functionality and your confidence. By understanding the basic components, prioritizing safety above all else, and following step-by-step instructions, you can successfully replace or install single-pole and even three-way switches. As of 2026, the options for lighting control have expanded to include smart and dimmer switches, offering greater convenience and customization. Always remember to turn off the power, verify with a voltage tester, and if in doubt, consult a professional to ensure your electrical work is safe and up to code.
Sabrina
2 writes for OrevateAi with a focus on agriculture, ai ethics, ai news, ai tools, apparel & fashion. Articles are reviewed before publication for accuracy.


